It’s that time of year when the zucchini is coming out of our ears in the garden! There’s so much and if you’re like me I’m not always willing or have the know how to deal with it all! I came across a fabulous basic recipe and altered it a bit to create a few more delicious varieties of zucchini bread. The family loved them all!
Basic Perfect Zucchini Bread
(This recipe is from America’s Test Kitchen with a few alterations)
2 cups shredded zucchini
3/4 cup organic sugar
1 cup all-purpose flour
1 cup whole wheat, spelt, oat or barley flour of your choice ( or do it all with whole grain flour)
1 teaspoon baking powder
1 teaspoon baking soda
3/4 teaspoon salt
1/2 teaspoon cinnamon
1/4 teaspoon allspice
1/4 cup yogurt or milk of choice
1 tablespoon fresh squeezed lemon juice
5 tablespoons melted butter or organic canola oil
2 large eggs
Preheat the oven to 375 degrees. Lightly spray a bread loaf pan with Pam or grease with butter.
Shred the zucchini and place in a strainer over a bowl. Mix 2 tablespoons sugar into the zucchini and mix. This will pull the excess water out of the zucchini so it doesn’t make the batter to wet. Squeeze out the excess moisture and continue making the batter until ready to add.
Mix together all the dry ingredients and then gently add the rest including the zucchini. Smooth in prepared pan and bake for 55-65 minutes. Let the loaf cool in the pan for 10 minutes and turn out onto a wire rack. Completely cool and serve.
 This one is really a dessert. You could get away with making it with all whole grains and even applesauce to replace the oil or butter.
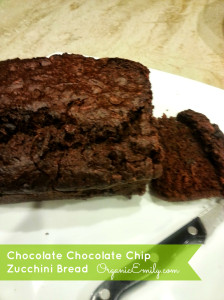
Chocolate Chocolate Chip Zucchini Bread
2 cups shredded zucchini
2 1/2 cups flour of your choice
1 cup organic sugar
1/2 cup good cocoa powder (dutch processed is always best for baking)
1 teaspoon baking soda
1/2 teaspoon baking powder
1 teaspoon salt
3 eggs
1/2 cup melted butter or organic canola oil
2 teaspoons vanilla
1 cup chocolate chips
Preheat the oven to 350 degrees. Lightly spray a bread loaf pan with Pam or grease with butter.
Shred the zucchini and place in a strainer over a bowl. Mix 2 tablespoons sugar into the zucchini and mix. This will pull the excess water out of the zucchini so it doesn’t make the batter to wet. Squeeze out the excess moisture and continue making the batter until ready to add.
Mix together all the dry ingredients and then gently add the rest including the zucchini. Smooth in prepared pan and bake for 50-60 minutes. Let the loaf cool in the pan for 10 minutes and turn out onto a wire rack. Completely cool and serve.
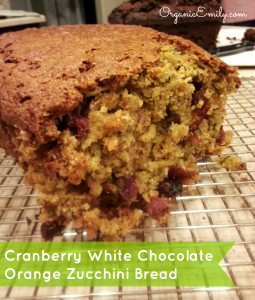 This recipe is one that reminds me of the beginning of fall! The flavors of orange, spices and cranberries with white chocolate are just wonderful! A fabulous treat to bring to any gathering!
Cranberry White Chocolate Orange Zucchini Bread
2 cups shredded zucchini
3/4 cup organic sugar
1 cup all-purpose flour
1 cup whole wheat, spelt, oat or barley flour of your choice ( or do it all with whole grain flour)
1 teaspoon baking powder
1 teaspoon baking soda
3/4 teaspoon salt
1 teaspoon cinnamon
1/4 teaspoon allspice
1/4 cup yogurt or milk of choice
Zest of one orange plus 1 tablespoon juice
5 tablespoons melted butter or organic canola oil
2 large eggs
1/2 cup dried cranberries
1 cup white chocolate chips
Preheat the oven to 375 degrees. Lightly spray a bread loaf pan with Pam or grease with butter.
Shred the zucchini and place in a strainer over a bowl. Mix 2 tablespoons sugar into the zucchini and mix. This will pull the excess water out of the zucchini so it doesn’t make the batter to wet. Squeeze out the excess moisture and continue making the batter until ready to add.
Mix together all the dry ingredients and then gently add the rest including the zucchini, cranberries and chocolate. Smooth in prepared pan and bake for 55-65 minutes. Let the loaf cool in the pan for 10 minutes and turn out onto a wire rack. Completely cool and serve.

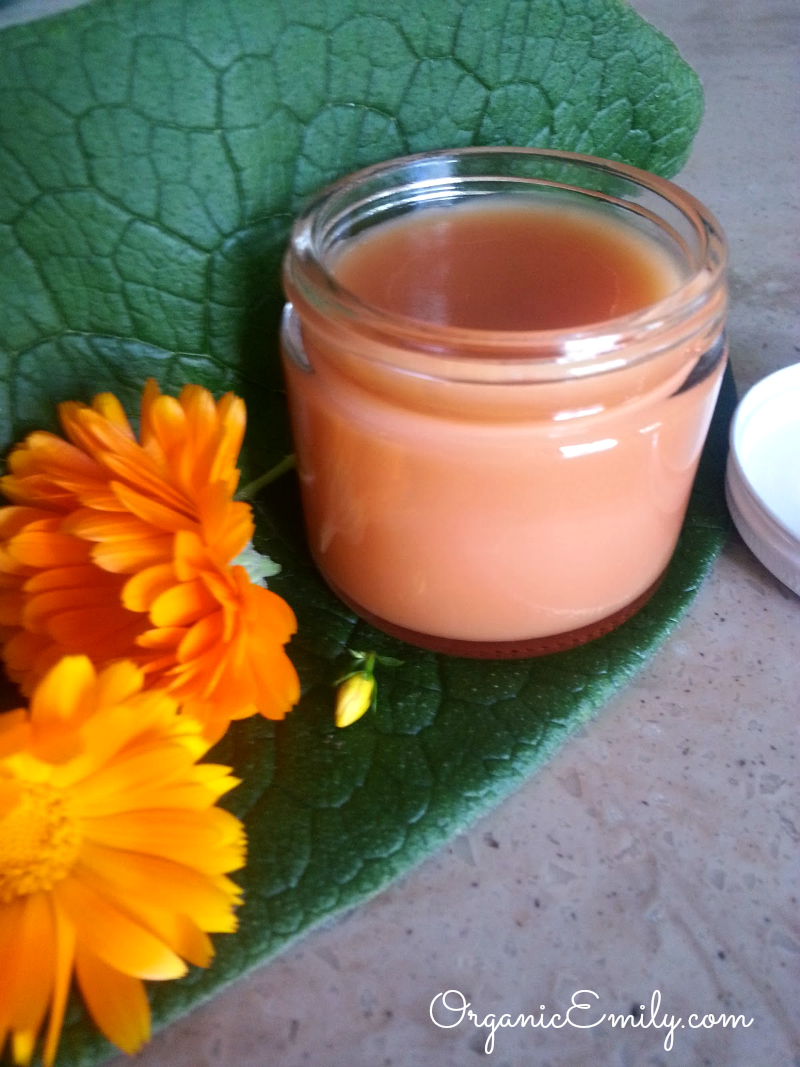
 This is one of those homemade medicinal concoctions that work really well and is very helpful to know in case you can’t get immediate medical attention. It’s perfect for cuts, scrapes, burns and more. There are a few steps you have to take before applying the burn/wound salve itself if you are dealing with deep cuts.