I did a post on hoop houses last year and wanted to share it again. Making a hoop house is very simple and inexpensive! You can extend your growing season from 3-5 months if you do it right. Hoop houses and cold frames act as “cold storage” since the crops aren’t growing once the days get shorter and there is less sunlight. We made our hoop frames towards the middle of October just before it froze, however I don’t suggest waiting that long. We got lucky, it was a warm fall. We decided to extend the growing season by making hoop houses over 2 of our grow boxes. I had a different idea in mind when we put these together. I thought we would be able to fit the pipes into T fittings and it would hold. However, they ended up snapping and breaking so we ended up making some inexpensive adjustments. A year later they are still going strong, so I know it worked! Here’s what you’ll need:
Materials
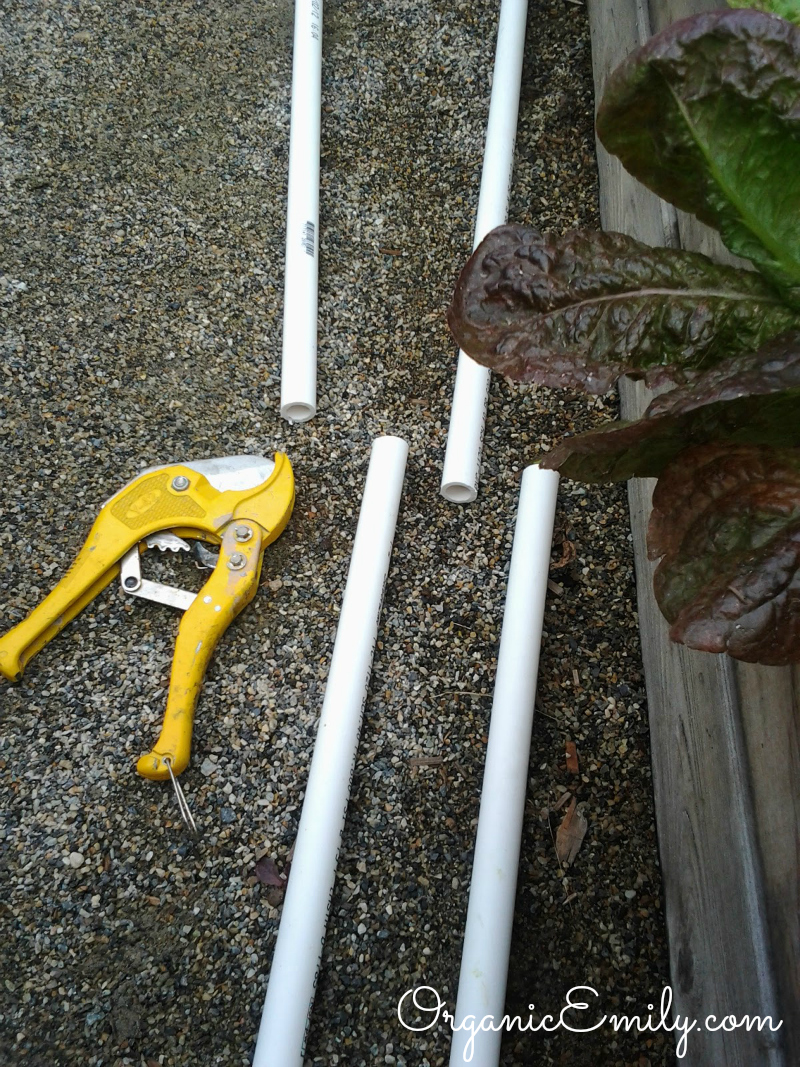
8 – 1/2 inch PVC pipes (for 2 4×8 boxes)
12 small metal brackets( from the electrical isle of Home Depot) with screws to anchor pipe to grow box (see picture below)
Wire to wrap the pipes together
Painters plastic as thick as you can find it (6-8ply)
Clamps for holding down the plastic
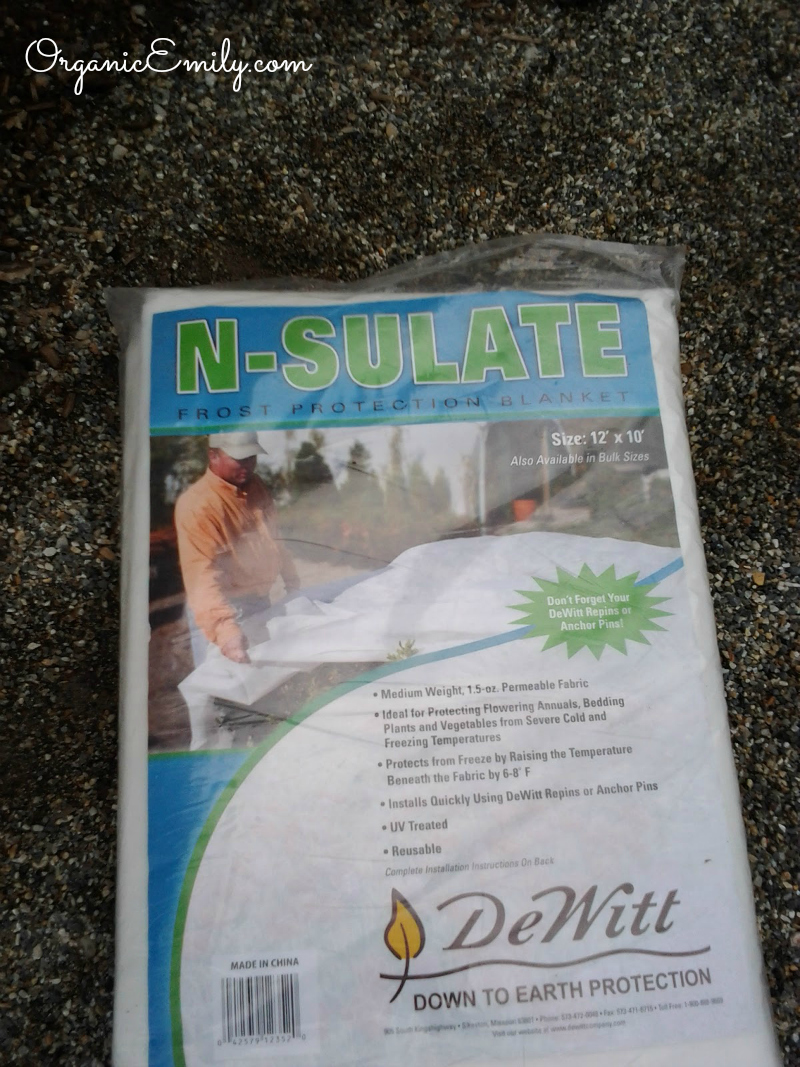
Heavy fabric row covers for additional insulation
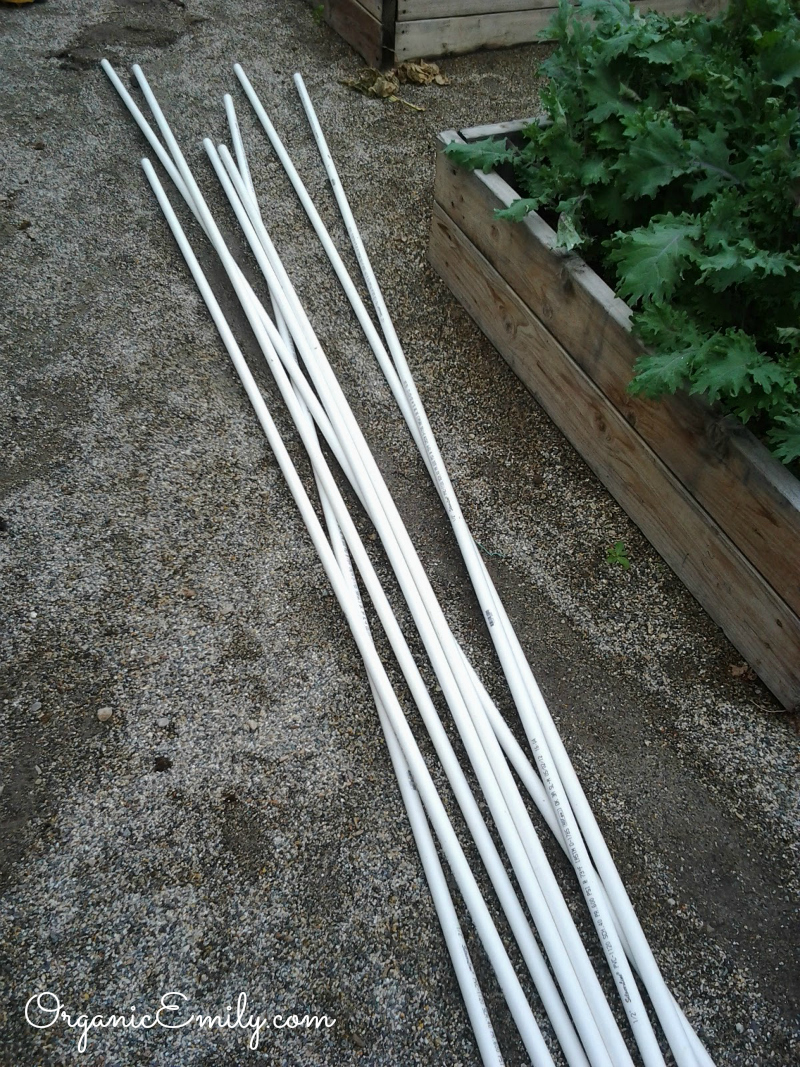
You will need 4 (10 foot) 1/2-inch pipes for 2 – 4×8 garden boxes.

Loosely secure 6 metal brackets onto the grow box. 3 on each side, measuring evenly between all 6.
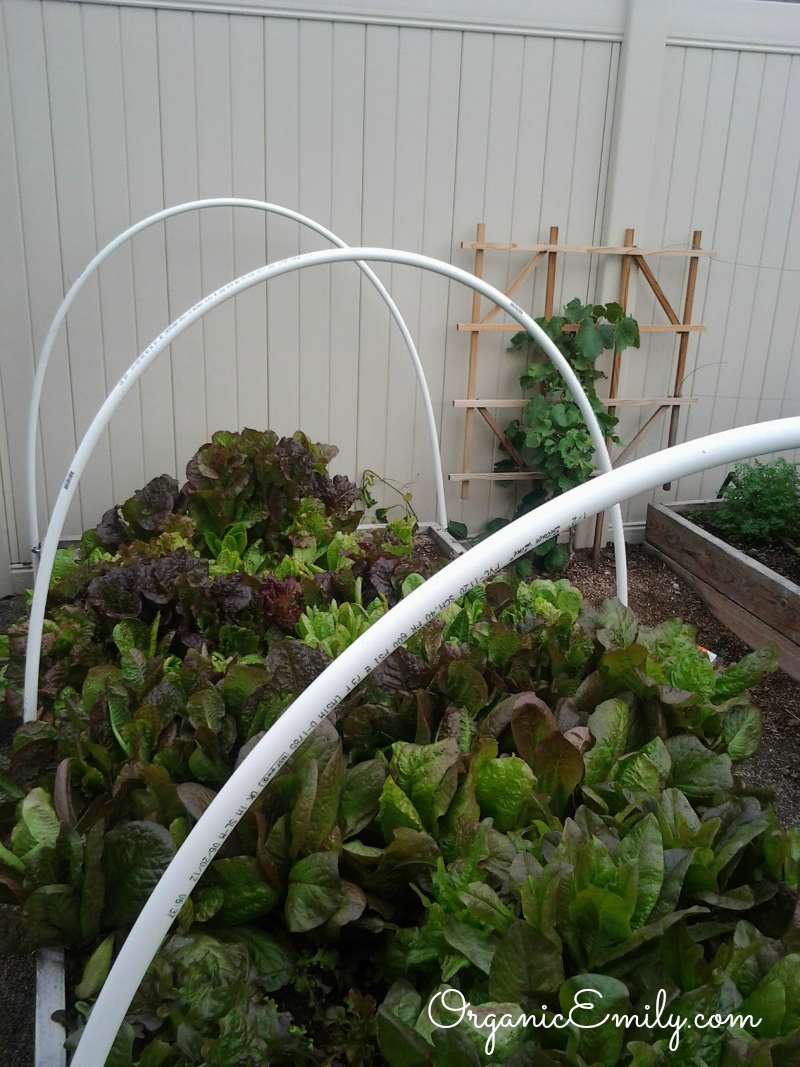
Slide the PVC pipes into place and secure the screws tightly. If you put them together on a cooler day, try setting them out in the sun to warm them up so they are less likely to break.
Cut an additional pipe into 3 sections fitted and measured to be secured in between each hoop. Your measurements may be different from mine.
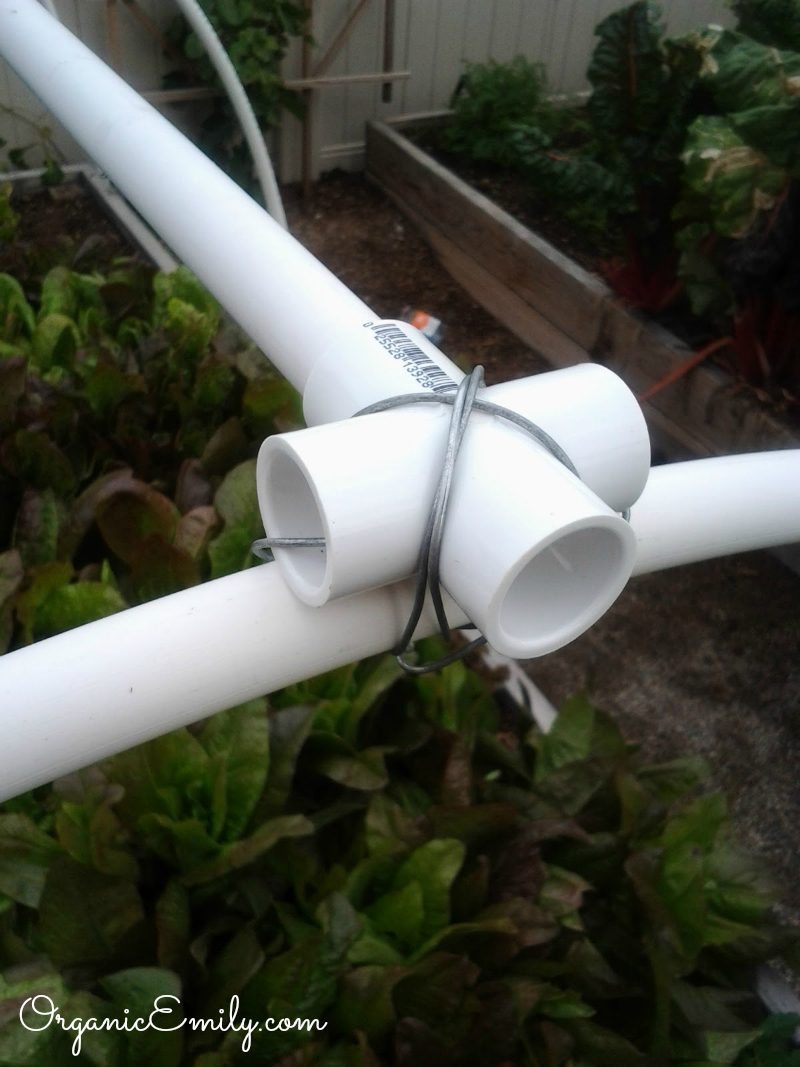
Fit the 1/2 inch pipe into a T and secure to hoop with heavy duty wire. Pipe must be cut to fit into the 3 T’s.

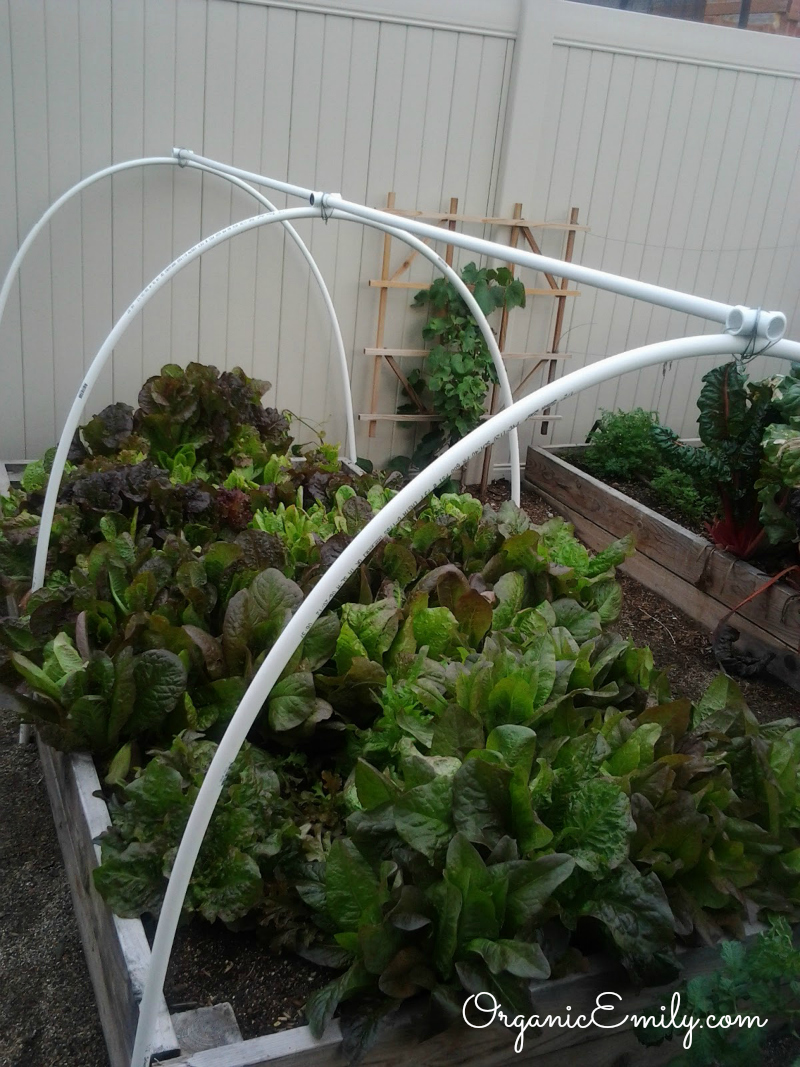
Frame is secured down and ready for use!
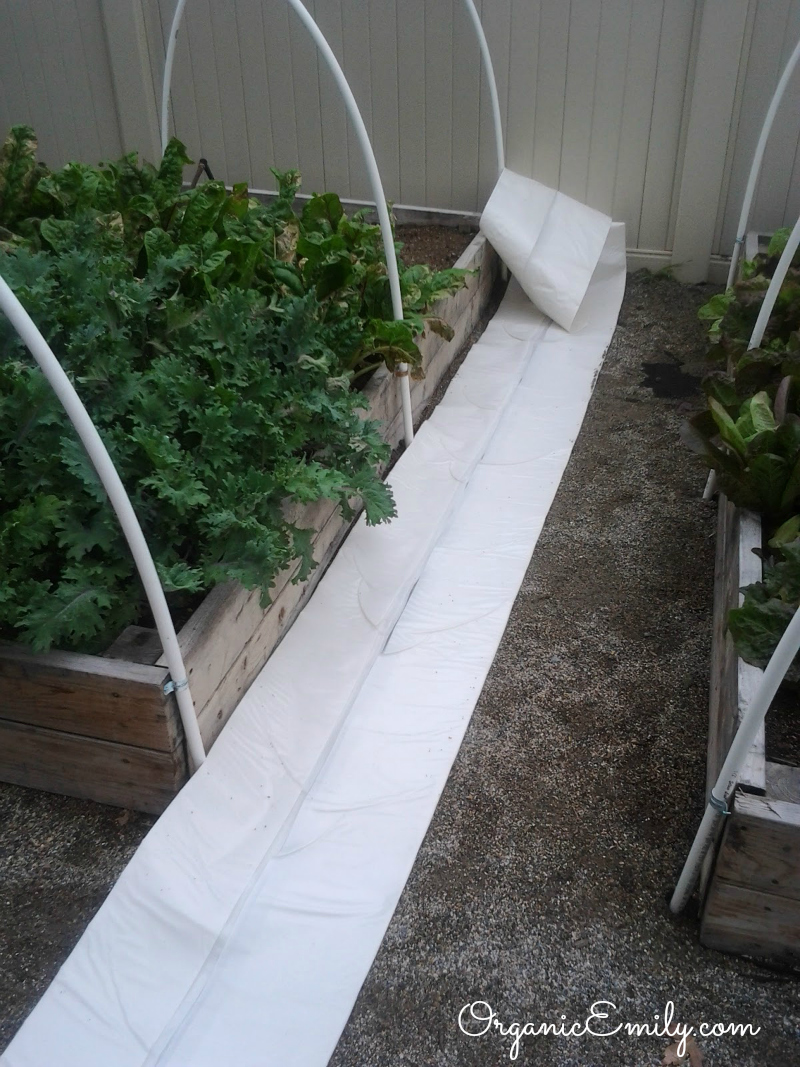
You will need the heaviest plastic you can find. This is 6 ply. If you can find 8 ply, that is even better. Cut to fit the box so it hangs past the ground.
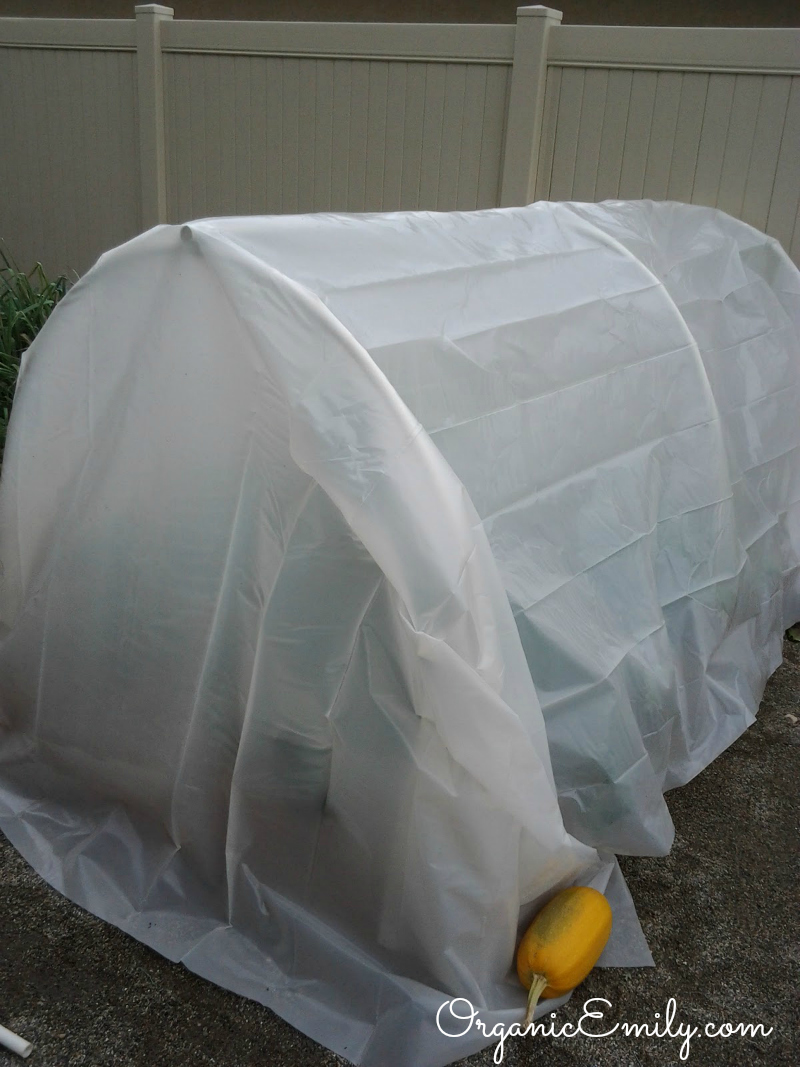
Secure with clamps or extra squash (just for demonstration :)… Be sure to check the weather and give the plants air to breath especially if it gets over 40`, they can cook!