Fresh Peach Pie

Fresh Peach Pie

It’s peach season!  There is nothing like a fresh ripe peach in the late summer!  I love them and wish they lasted a little longer, but alas just like homegrown tomatoes and basil they must be relished and appreciated while they are here!  This pie is absolutely fabulous!  I am a sucker for pies, period!  This one is definitely one of my top 5 and it’s quite simple to make!  Serve with vanilla ice cream or fresh sweetened whipped cream!

Recipe

You will need:

3 ripe peaches, sliced

1 baked pastry pie shell (recipe below)

2 large peaches, smashed

1 c. organic sugar

3 T. corn starch

1/2 c. water

2 T. butter

1 t. almond extract

 

Assembling Fresh Peach Pie

Place the sliced peaches inside the baked pastry shell.  Set aside.
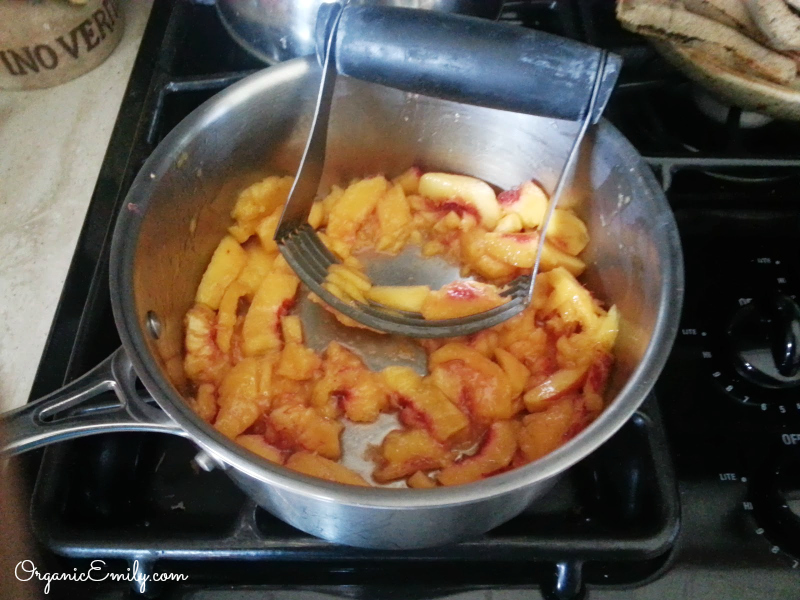
 

Mashed Peaches

Place mashed peaches and sugar in a large sauce pan over medium high heat.
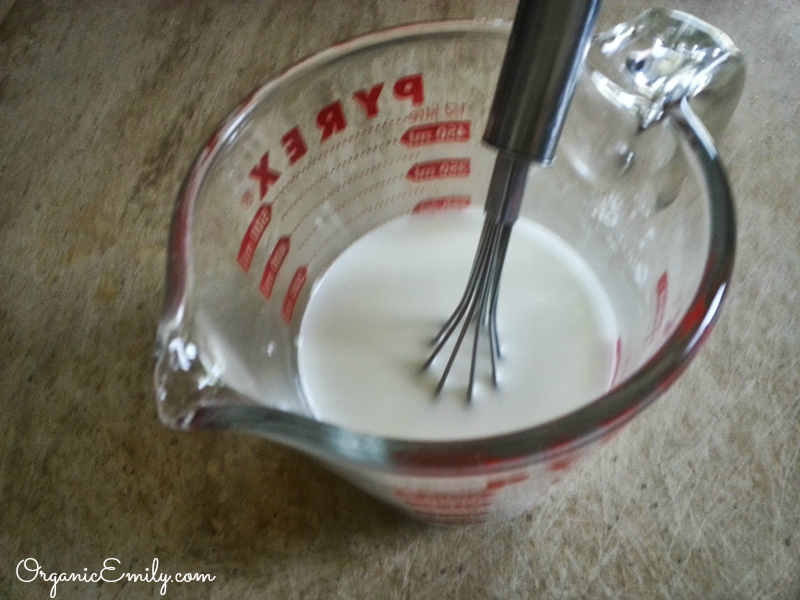
 

Cornstarch and Water

Whisk the cornstarch and water in a small bowl and then add to the mashed peaches.  Cook, stirring constantly until thick, about 5-10 minutes.  Remove from heat and add butter and almond extract.  Cool slightly.


Fresh Peach Pie

Pour thickened mashed peach mixture over the fresh peaches in the baked pie shell.  Chill for a few hours and serve with ice cream or whipped cream.


Pie Crust
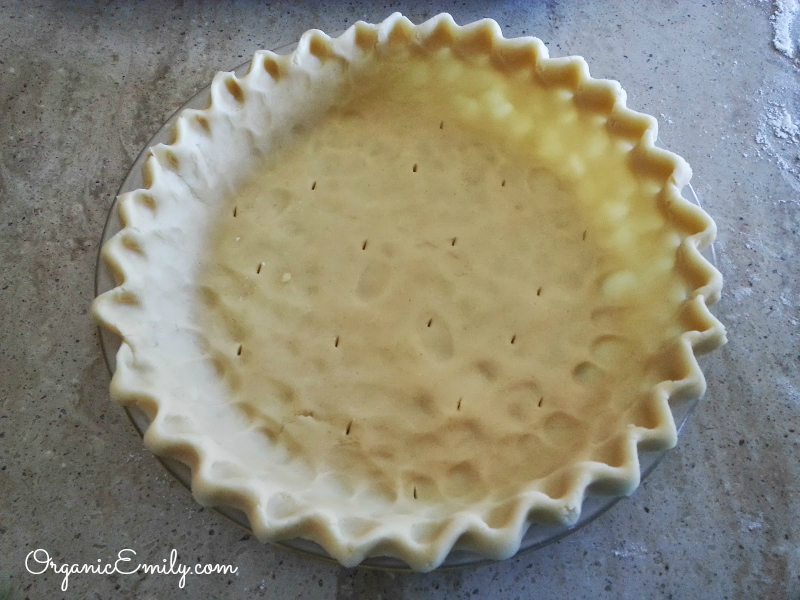
Pie Crust

Makes 2 pie crusts

In a food processor combine:

2 1/2 cups flour

1 t. salt

1 t. sugar

Add 2 sticks of cold butter one tablespoon at a time, pulsing until mixture becomes like course meal.

Add 1/4 – 1/2 cup ice cold water, pouring and pulsing little by little until the dough barely begins to come together.

Remove from food processor and shape into 2 round disks.  Cover with plastic wrap and refrigerate for at least 30 minutes or overnight.

Preheat oven to 400`

Roll out into a round shape at a 1/4 – inch thickness.  Place into pie pan and shape egdes with fingers or a fork.  Pierce bottom with knife or fork for ventilation and line the pie shell with foil.  Add pie weights or dry beans and bake for 10 minutes.  Remove foil and pie weights if using and bake for another 8-10 minutes.  Let cool completely.

Saving “Wet” Seeds

Brandywine tomato

There are multiple forms of seeds that can be saved and others that don’t do as well.  For the sake of simplicity we’ll discuss 2 types.  Heirloom and hybrid seeds.  Heirloom seeds are best for saving and most reliable because they come from a generation of at least 50 years old and older, some as old as a few hundred years.  Their flavor is usually very good.  Their production is consistent, but not always abundant with some varieties.   Hybrid seeds are produced mostly for commercial growers to with stand mechanical harvesting and long distance shipping.  Their yield and production time is high.  However, this type of seed is not good for saving.  It will either be sterile or revert back to a parent seed and not give you what you originally purchased.

A “wet” seed comes from a plant inside the actual fruit and require an extra step in preserving compared to “dry” seeds.  You can review how to preserve dry seeds here https://rootedemily.com/?p=612   Wet seed vegetables include zucchini, cucumber, pepper, tomato, melon, squash etc.

mature zucchini ready to harvest seeds

Just like dry seeds these also need to come from fruit that is mature, some to the point of past eating.  Like zucchini or cucumber.

zucchini seeds

Most seeds that come from fruit are simply removed, rinsed and dried on a glass plate for 2-3 weeks.  These seeds must be completely dry before storing or can be susceptible to mold and rot.

The exception are tomato seeds.  They take an extra step and need to go through a fermentation process before drying.

Brandywine tomato

When choosing a tomato to save seeds from, it is best to choose one that is large, soft and ripe.  Seeds saved from tomatoes that are not fully ripe will not germinate the following year.  Cut the tomato in half and scoop out the seeds and gelatinous liquid with your fingers.

saving tomato seeds

Place seeds and liquid into a small bowl with water, cover with plastic wrap and poke a few holes into it for ventilation.  Set the bowl  in a sunny window seal or on counter.  Let the mixture ferment for 6 days at room temperature and stir every day.  Change the water around day 3.  The top of the bowl will look scummy when the fermentation process separates the gelatinous liquid from the seeds.  When this happens rinse the seeds thoroughly in a sieve and dry them on a glass plate or on wax paper.

saving seeds in envelope

Let them dry for 1-2 weeks.  Be sure they are very dry before storing in a velum or paper envelope and label the variety with date.  Seeds will stay viable for at least 2-3 years.

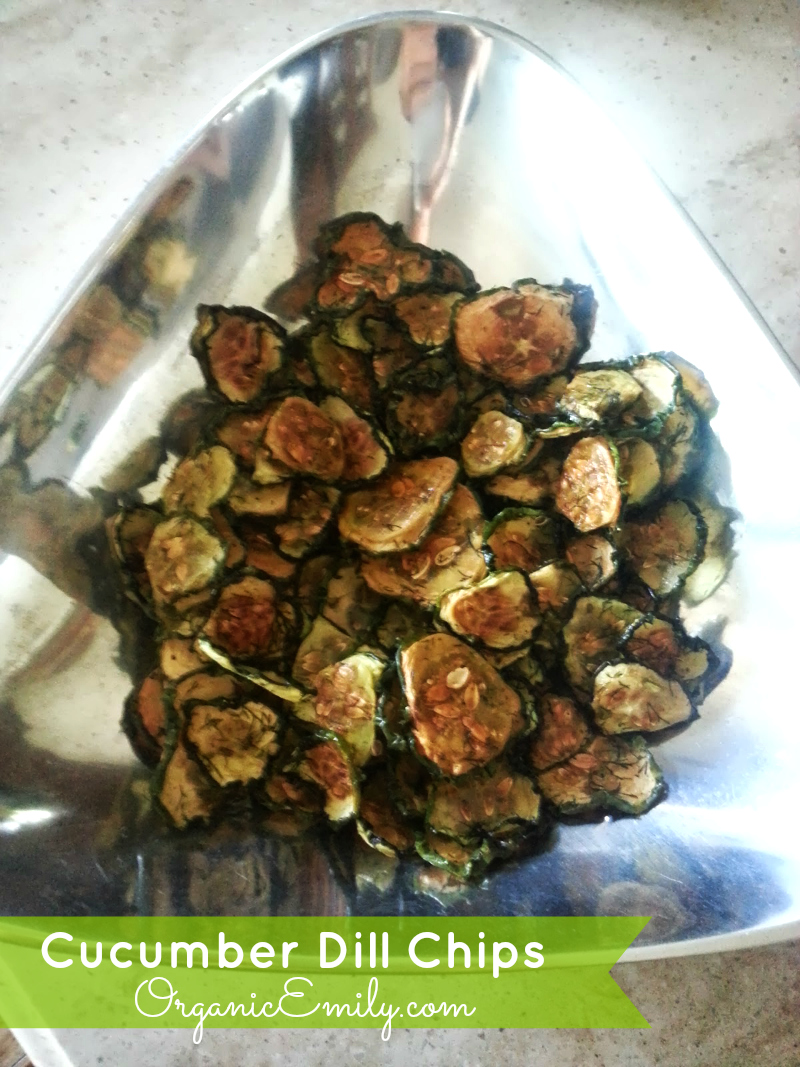
Cucumber Dill Chips

Cucumber Dill Chips 3

These are just as good as regular bagged chips in my opinion!  They are full of flavor and so easy to make!  You just have to be willing to wait for a day while they dry in a dehydrator before eating them!

Recipe

5 lbs. fresh cucumbers, sliced

Olive oil

Fresh dill, chopped

Sea salt and freshly ground black pepper


Cucumber Dill Chips 1

In a large bowl mix together the cucumbers, fresh dill, olive oil (just enough to coat the cucumbers) and sea salt and pepper to taste.

Cucumber Dill Chips 2

Place the cucumbers on trays of a dehydrator evenly so that none are overlapping.  Dry with the setting on between 135` and 140`.  Check after 12 hours and then every 4-6 after that until they are crisp and done.  Enjoy!


Grilled Flat Bread with Herb Oil

Naan with herb oil

This recipe will be sure to wow any party guest and family!  These can be made big or small and they go well with everything from soup, salad and grilled veggies and chicken!  The herb oil can be made and stored for up to 2 weeks in the fridge.  Below I have posted 2 different kinds of bread recipes.  The first is a naan (Indian flat bread) and the other is more of a pizza dough.  Try both!  You won’t be disappointed!

Homemade Herb Oil
1/2 cup chopped fresh rosemary
1/4 cup chopped fresh tarragon
1/8 cup chopped fresh thyme
1 cup olive oil
Blend all ingredients in a blender.  Makes 1 3/4 cups oil.
Naan (recipe from “Spilling the Beans”)
1/2 cup warm water
2 tsp dry active yeast
1 tsp sugar
1 cup rinsed and drained canned white beans
1/2 cup yogurt
1/4 cup canola oil
1 large egg
3 cups of your choice flour, extra if needed.  I used half spelt, half all purpose flour.
1/2 tsp salt
In a small bowl mix together the water, yeast and sugar.  Let stand until bubbly for a few minutes.
In the bowl of a food processor, puree the beans with yogurt, oil and egg; add the yeast mixture.  Stir in the flour and salt until a sticky dough forms.  Add more flour turning the dough out onto a floured surface kneading until the dough is elastic and smooth.  Cover with a tea towel and let rise until double in size.  1-2 hours.
Divide the dough into 8-10 pieces.  On an oiled surface, roll out each piece into an oval.  Set a heavy skillet over high heat and drizzle oil on the pan.  Cook one naan at a time until golden blistered on bottom and top.  Spread herb oil on dough after it has cooked.  Lightly salt with Kosher salt and pepper.  Keep warm in a 250` oven until ready to serve.
Pizza Dough (Flat Bread)
1/4 cup warm water
1 1/8 tsp dry active yeast
1/2 tsp honey
1 1/4 to 1 3/4 cup flour of your choice
1/4 cup milk
2 Tbsp room temp water
1 Tbsp olive oil
1/2 tsp salt
Make a Sponge:
in a small bowl, mix together warm water, yeast ans honey until yeast is dissolved.  Stir in 1/4 cup flour until smooth; set aside 20-30 minutes or until bubbly.
Make the Dough:
In an electric bowl fitted with a dough hook, combine sponge, 1 cup flour, milk, room temp water, olive oil and salt.  mix on medium speed to form a sticky dough.  Add additional flour, little a ta time until dough pulls away from the sides of the bowl. (Dough should be very soft).  Reduce to a low setting and knead for 10 minutes.  Cover with plastic and let rise for 1-2 hours until doubled in size.
Divide dough in half and roll out onto an oiled surface, making 2 large oval shapes.  Grill on a heavy skillet or outside on the BBQ grill.  Brush herb oil on fully cooked dough and cut into triangular shapes.  Lightly salt with Kosher salt and pepper.


Growing and Using Herbs: Sage

Sage Plant

Sage is one of those safe and simple herbs to use and grow!  For years I only used it with Thanksgiving Turkey and stuffing and although the herb is the essence of fall to me I recently learned there a lot more purposes to this wonderful herb!  Sage tea has been known to help “dry” up mother’s milk for weening babies.  It has been used for many years to calm and soothe a sore throat and even help with hot flashes!

Growing Sage

Sage is very easy to grow in zones 4-8.  It loves full sun, well draining soil and hot conditions, so it does well here in Utah.  It’s best to get starts from your local nursery or propagate from root division.  Older plants can get woody and leggy, just cut back the old growth in the spring before the new growth comes out.

Using Sage

Outside of using sage on poultry, we can also use it for medicinal purposes too.  Here are a few of my favorite recipes to aid your family during the cold and flu season.

Sage Throat Spray or Gargle

Ingredients to make Sore Throat Spray or Gargle

This throat spray is very simple to make.  Harvest about 1 cup fresh sage leaves.  Place in bowl and pour 1 cup boiling hot water over the top of the leaves.  Cover with a plate to keep the essential oils inside.   Let steep for 30 minutes.


Strained Fresh Sage Tea

Strain the sage tea into another bowl and add the following:

1-2 tablespoons raw honey

1-2 tablespoons echinacea tincture (optional, but does extend the shelf life)

1-2 drops peppermint essential oil


Sage Throat Spray or Gargle 2

Pour into a clean glass jar through a funnel.


Sage Throat Spray or Gargle

Label the spray/gargle and use as needed.  Store in refrigerator.


Homemade Cough Syrup

Fresh Herbs for Sore Throat Spray or Gargle

In a large pot place 4 ounces each fresh sage, thyme and horehound (optional, but strongly recommended).  If using dried herbs, use half the amount.  Pour 12 cups water over the herbs and simmer low for a few hours until the water has decreased to 6 cups and you have made a very strong tea.  (this recipe can be made in smaller batches too.)


Horehound, Sage and Thyme Tea

The herbs have been cooked down to half and a strong tea remains.   Strain through cheese cloth or muslin and add 3 cups raw honey.


Sage, thyme and Horehound Cough Syrup

This recipe made about 8 (12 ounce) bottles of cough syrup.  To make the syrup stronger I also added 1 T. echinacea tincture and 1 drop OnGuard essential oil to each bottle.  This will keep the syrup for a longer period of time and increase its effectiveness.  Keep in fridge and take 1 teaspoon every few hours until cough or cold subsides.


Homemade Croutons

Homemade Croutons

Who needs store bought croutons when you can make your own and make it so much better!  This recipe is so simple and can be made ahead for up to a week!

Recipe

1 loaf sourdough bread chopped into 2-inch pieces

olive oil

Kosher salt

Freshly ground black pepper

Place the chopped sourdough pieces onto a jelly roll pan evenly so none are overlapping.  Drizzle with just enough olive oil to gently coat and sprinkle with salt and pepper.  Toss with hands to evenly coat bread and put into a 350 degree oven for 15-20 minutes, flipping with a spatula once in the middle of cooking time.  Remove from from oven when the croutons are lightly golden.  Let cool and use for salads or soups!

Oven Dried Tomatoes

Heirloom Tomatoes

Its that time of year when the temperatures start to cool off a bit at night and the tomatoes and other plants really start to set fruit!  I’m a little crazy about tomatoes!  They are the essence of summer… along with peaches and basil and okay any other delicious fruit, herb or plant  you can grow in your own backyard! 🙂  This year I started my tomatoes from seed under lights in February and planted them under walls of waters at the first of April.  18 different kinds of heirloom tomatoes all in the space of a 4×14 garden box!  That’s a lot of tomatoes and not really a lot of space.  They are doing well and I have to say I have been pretty proud of myself this year!  As the tomatoes come on more and more I have often wondered in the past what to do with them all.  There really hasn’t been enough at one time to can and there’s too much to eat all at once.  So I came up with this recipe and have been loving and enjoying every single tomato I grow for a few years now!  It’s so simple and delicious you may just eat an entire bottle in one sitting! … not that I’m guilty of that or anything… do ta do. 🙂

Recipe

Chopped Heirloom Tomatoes

Chop 5lbs. tomatoes into fairly large pieces (they will significantly decrease in size).  I usually cut my large ones into 4-6 pieces and cut the smaller ones in half.  Place into a large gallon size ziplock bag.

Seasonings for Oven Dried Tomatoes

In a large ziplock gallon size bag drizzle about 1/4 cup olive oil, 3-4 T. Balsamic dressing, sprinkle about 1 T. Italian Seasoning and add Sea Salt and Fresh Ground Pepper to taste.

Marinating Tomatoes

Gently toss the tomatoes inside the bag making sure everything is distributed evenly.  Place in fridge for 6-10 hours and allow to marinate.

Ready to Bake Oven Dried Tomatoes

Strain the tomatoes through a slotted spoon and place on a jelly roll pan.  Bake in the oven at 200 degrees for 8-12 hours depending on how big the tomato pieces are.  Cook until they have shrunk in size and have caramelized a bit.

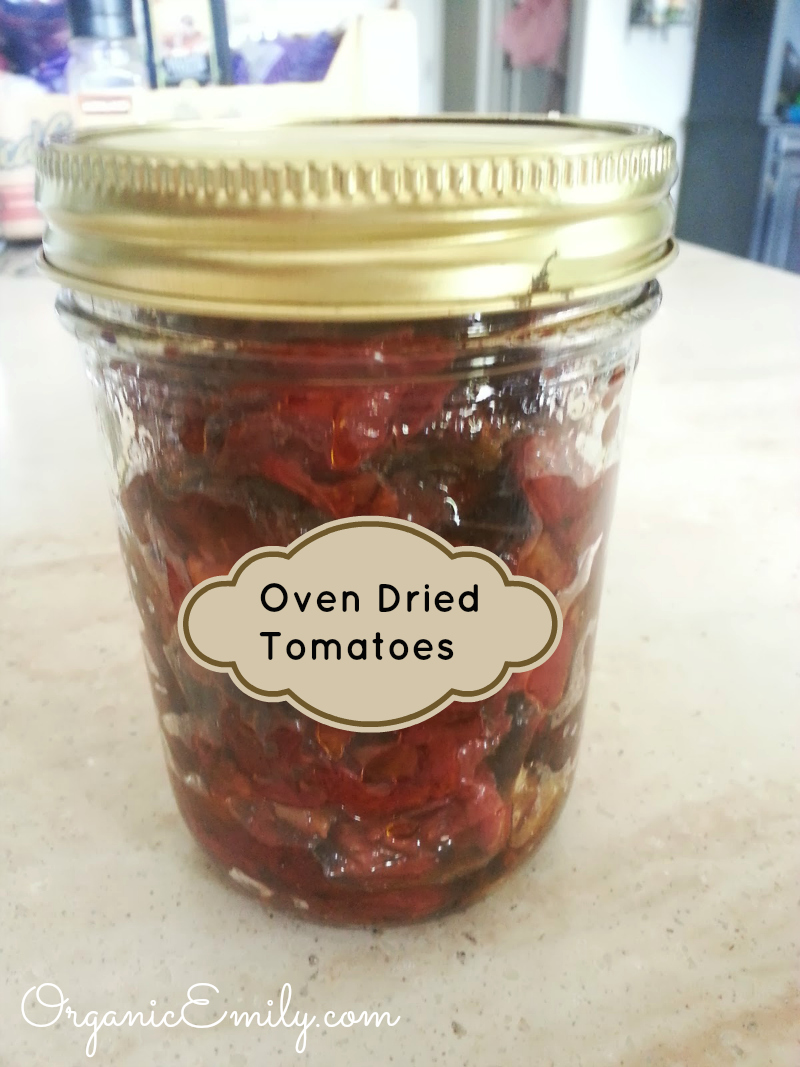
Finished OVen Dried Tomatoes

Once finished place into 2 pint jars.  Drizzle a little bit more olive oil on them (1 T.).  Keep in fridge for 2 weeks (if they last that long) or the freezer for several months.  I use my oven dried tomatoes for pasta, pizza, bruschetta and lots of other things!

Vegan Asian Rice Bowls

Vegeatrian Asian Rice Bowls

These rice bowls are very versatile!  Not only are they fresh, healthy and satisfying but they taste amazing too!

Recipe

Dressing:
In a small sauce pan bring the following ingredients to a quick boil.
6 tablespoons rice vinager
6 tablespoons cooking white wine
3 tablespoons agave
Add off the heat:
3 tablespoons low-sodium soy sauce
1 teaspoon freshly grated ginger
1 orange zested and juiced
1 lime zested and juiced
Rice Bowl Toppings:
Cooked brown rice
Black beans
Fresh chopped pineapple or mango
Fresh chopped tomatoes or red peppers
Fresh chopped scallions
Freshly chopped or shredded carrots
Fresh sliced radishes
Fresh chopped cucumbers
Fresh chopped avocados
Crumbled seaweed
Add any tofu, chicken or fish to the dish too (optional)
Pour dressing over the top and enjoy!

Spicy Mexican Salad Bowls

Spicy Mexican Salad Bowls

I love this dish!  It’s healthy, satisfying and delicious!  My mom made it for me a while back and I just had to share!  This healthier version of Cafe Rio’s salad with green tomatillo ranch dressing is mouth watering!  I like it vegetarian style but you can always add a tender shredded beef or chicken if you want!  This recipe serves 6-8.

Cilantro Lime Rice:
1 cup uncooked brown rice
1 tsp. olive oil
2 cloves garlic, minced
zest of 1 lime
2 cups chicken broth or water
Cook all ingredients above in a rice cooker or over the stove in a pan according to directions on the rice package.
Off the heat add:
2 limes juiced
2 teaspoons agave or organic sugar
3-4 tablespoons chopped cilantro (1/2 bunch)
Set aside.
Fresh Tomato Onion Salsa:
In a large bowl mix together:
5 large tomatoes
1/2 white onion, minced
1-2 jalapeno peppers, seeded and minced
1/2 bunch cilantro, chopped
Salt and pepper to taste
Set aside.
Tomatillo Ranch Dressing:
1 cup water
1 cup cashews
Blend well.
Add:
2 tomatillos
1 jalapeno, seeded
1 lime zested
2 limes juiced
1 bunch cilantro
1 package of ‘Simply Organic’ brand ranch dressing mix
1/2 teaspoon garlic salt
Homemade Whole Wheat Tortillas: (found this great recipe from a friend.  It makes 6 large or 12 small tortillas)
2 1/2 cups whole wheat flour
1/2 cup organic canola oil
1 teaspoon sea salt
1 cup warm water
Beat ingredients in an electric bowl fitted with a paddle attachment and mix for 3 minutes.  Divide dough into 6 or 12 pieces, roll out into circles with oil on the counter and grill on a hot flat skillet that has been seasoned or oiled.
*Place lots of fresh organic lettuce on the tortilla (melted with cheese, optional)
Add rice and black beans or meat if using
Top with fresh tomato salsa and dressing and enjoy!

No-Bake Energy Bites

No-Bake Energy Bites

These no-bake energy bites are so good and healthy!  Perfect for taking on a hike or field trip with the kids!

Recipe

You will need:
1 cup dry oatmeal
1/2 cup chocolate chips
1/2 cup peanut butter
1/2 cup ground flax seed
1/3 cup honey
1 tablespoon ground cinnamon (optional)
1 teaspoon vanilla
1/2 teaspoon sea salt
Mix all ingredients together and roll into 1-2 inch balls.  Enjoy!